Running rocket.chat on DC/OS
In this post I will quickly describe how to setup rocket.chat on DC/OS, which I used for a simple proof of concept.
Warning: This is example is not suitable for production use since it does not persist its data!
Requirements: You need a up and running DC/OS Cluster with at least one instance of “Marathon-LB” nothing else is needed in first step.
Goal: By the end of this we want to have a running rocket.chat instance including its requirements on DC/OS behind our “Marathon-LB” loadbalancer.
Setup: rocket.chat has one simple requirement, which is mongoDB, which we have to install first.
mongoDB: MongoDB is available in the default “Universe” repository which comes with DC/OS, which makes it very easy for us to setup a single instance for testing (if you want to go for production you should use here a full replicaset!)
-
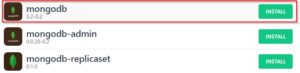
Choose “mongodb” from the package repository for installation
-
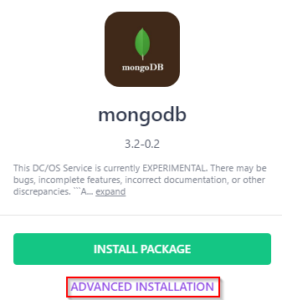
Choose “Advanced Installation”
-
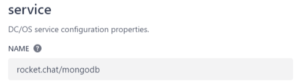
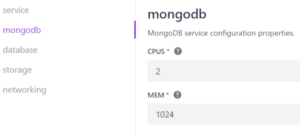
I want to run the whole setup in a group called “rocket.chat” so I update the service name to contain also the group-name
-
During testing I noticed that the default “CPU” value is a bit low, so we will increase this to at least 2
-
If you want to go for production should also update the “Username” and “Password” in the section “database”. For the POC I will just keep the default values
-
Start the installation by clicking “Review & Install” and on “Install” in the following window, you can monitor the process in the service overview
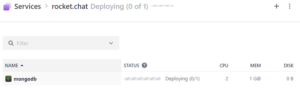
As soon as this has finished we can continue with rocket.chat itself.
rocket.chat: The rocket.chat team provided a ready to use docker image which we can utilize: https://hub.docker.com/r/rocketchat/rocket.chat/
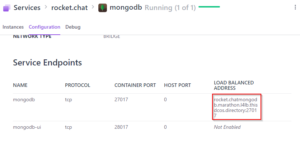
To continue we have to lookup the “Load Balanced Address” of the mongoDB installation, so we can provide the correct connection string. We find that in the “Configuration” section of the mongoDB service
-
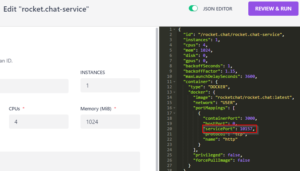
Define the basic image (rocketchat/rocket.chat:latest) and it’s resources, I assign 4 CPUs and 1GB of memory, otherwise I didn’t get this running

-
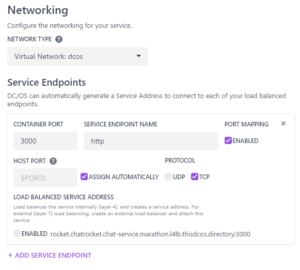
In the networking section I use the “Virtual Network” and define the default port 3000 to be mapped for external access
-
For observing the containers I define a simple health check for the login page
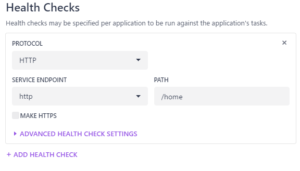
-
Finally I define the required environment variables (PORT, ROOT_URL, MONGO_URL, MAIL_URL) and the HAPROXY_GROUP for our external access. We keep “http://localhost:3000” since I don’t know the final service port upfront (rocket.chat will ask to change the URL after accessing it the first time, you can set it already to your final external URL if you know it upfront.
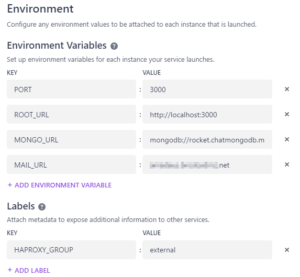
-
Finalize the deployment and watch it starting 🙂
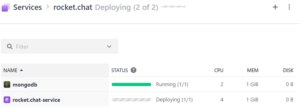
After the setup has finished you can check the “servicePort” from the rocket.chat service to know which port you need on your loadbalancer.
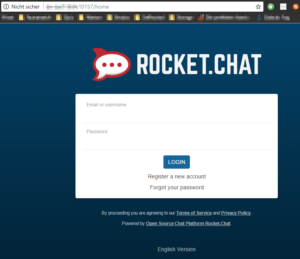
You can now access your installation through your marathon-lb node. The first user which registers with your instance will be the administrator user!